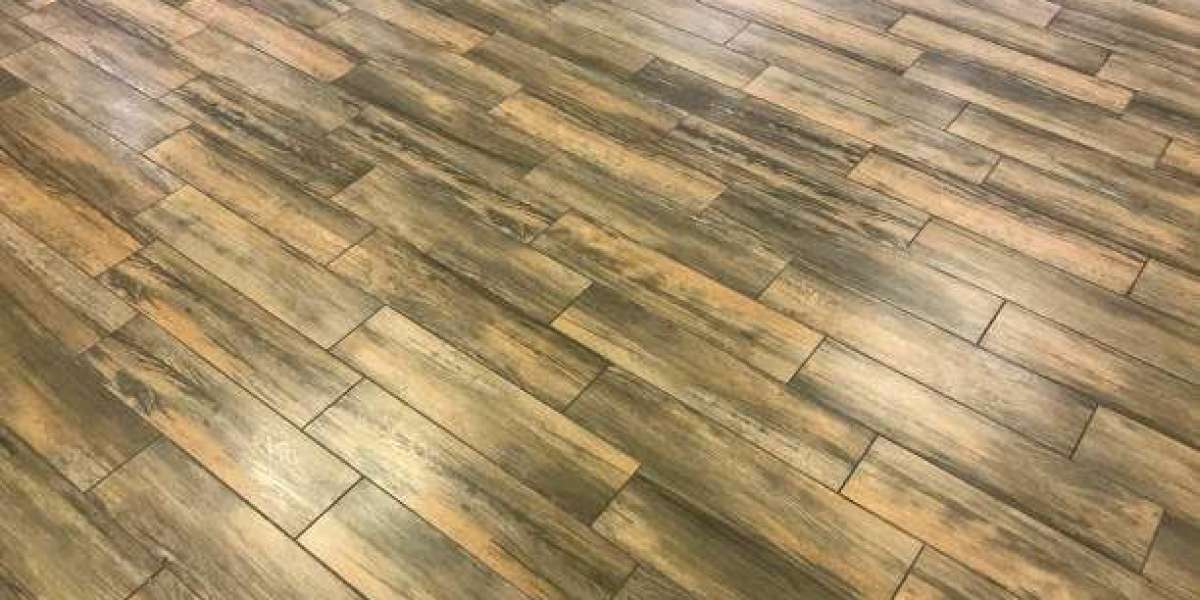
Hardwood floors are a timeless investment that can add beauty and value to any home. Over time, though, wear and tear can make even the most beautiful hardwood floors look dull and damaged. That’s where hardwood floor refinishing comes in. Refinishing your hardwood floors not only restores their original shine but also helps maintain their durability for years to come.
Hardwood Floor Refinishing: A Game Changer for Your Home
Hardwood floor refinishing is a fantastic way to breathe new life into your floors. Whether you have natural wood, oak, or any other type of hardwood flooring, refinishing can remove scratches, stains, and imperfections. The process involves sanding down the old finish, applying a new coat of finish, and bringing back the wood's natural beauty. But achieving top-notch results requires the right techniques, preparation, and tools. Let’s dive into the essential tips for ensuring a successful refinishing project.
1. Prepare Your Space Before Refinishing
Before you even think about sanding your floors, it’s important to properly prepare your space. This involves:
Clearing the area: Move all furniture and rugs to ensure there’s no obstruction during the refinishing process.
Cleaning the floors thoroughly: Sweep and mop the area to remove any dirt or debris. This will prevent dirt from getting trapped during the sanding process, leading to a smooth finish.
Protecting surrounding areas: Cover baseboards, walls, and any fixtures with painter’s tape and plastic sheeting to avoid splashes and dust damage.
2. Sanding Is Key: Do It Right
Sanding is arguably the most critical part of the refinishing process. If done improperly, it can lead to an uneven surface, poor finish adhesion, and even damage to the wood. Here are some tips for a flawless sanding job:
Use the right equipment: A drum sander is the most efficient tool for large surfaces, while an edge sander is perfect for corners and tight spots.
Start with coarse grit: Begin with a coarse grit sandpaper (around 36 to 40 grit) to remove the old finish. Gradually move to finer grits (60, 80, and then 100) to smooth the surface.
Sand in the direction of the wood grain: Always sand in the direction of the grain to avoid scratches and imperfections.
3. Choose the Right Finish for Long-Lasting Results
Once the floors are sanded, it’s time to apply a new finish. The finish you choose plays a significant role in the longevity and appearance of your floors. There are several options, including:
Oil-based polyurethane: Known for its durability, this finish is ideal for high-traffic areas. It provides a warm, amber tone that enhances the natural wood color.
Water-based polyurethane: A popular choice for those who want a clear finish that won’t change the wood’s color. It dries faster and has less odor than oil-based options.
Natural oils: If you prefer a more eco-friendly option, natural oils like tung oil or linseed oil can nourish the wood and provide a satin finish, though they may require more frequent maintenance.
Make sure to apply the finish in thin, even coats and allow it to dry completely between applications. It’s important to follow the manufacturer’s instructions for optimal results.
Conclusion:
Refinishing hardwood floors is a rewarding project that can completely transform the look of your home. By following these hardwood floor refinishing tips, you can ensure that your floors remain stunning and durable for years to come. Remember, preparation is key, and choosing the right tools, techniques, and finishes will lead to a successful result. Whether you tackle this project yourself or hire a professional, refinishing your hardwood floors will give them the care they need to shine once again.


