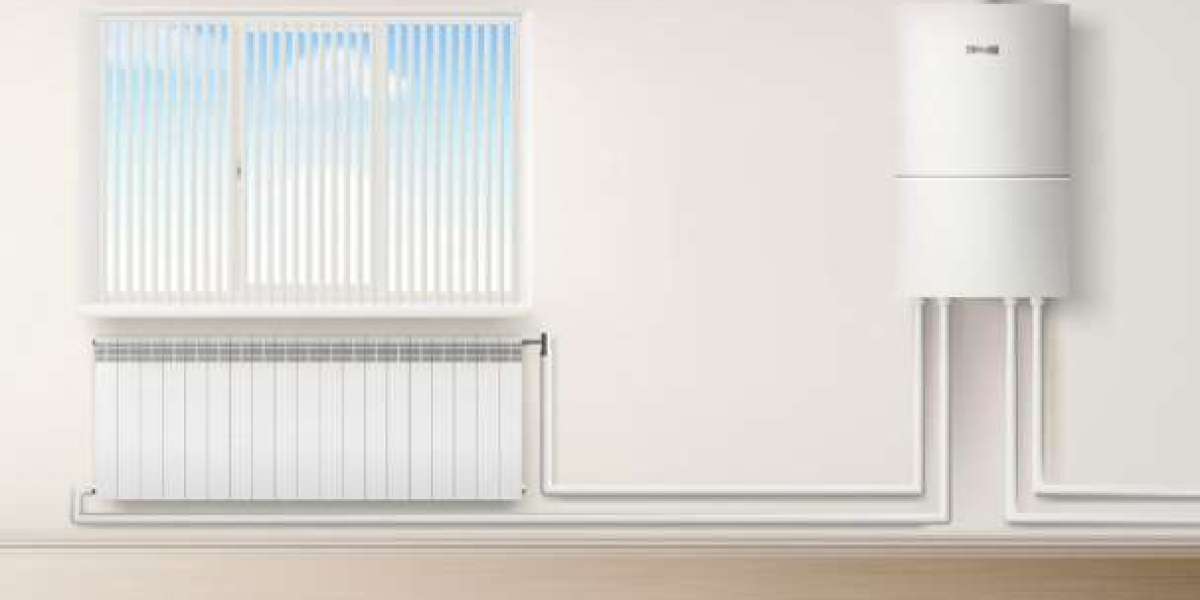
Once or twice a year, homeowners should consider performing a thorough flush of their water heater to remove built-up sediment and mineral deposits. Neglecting this simple maintenance task can lead to higher energy bills, reduced efficiency, and even unexpected malfunctions. Whether you're a seasoned DIY enthusiast or just want to extend your appliance’s lifespan, understanding how to flush a water heater is essential. This guide walks you through the process clearly and safely—saving you from potentially costly water heater repair later on.
Why Flushing Matters More Than You Think
Over time, minerals like calcium and magnesium settle at the bottom of your water heater tank. This layer of sediment acts as a barrier, forcing the unit to work harder to heat your water. If left unchecked, it can result in system overheating, internal corrosion, or even premature failure. Flushing the tank as part of your regular Water Heater Service ensures the system operates efficiently, minimizing wear and tear.
What You’ll Need Before You Begin
Before you get started, gather the following tools and items to ensure the task goes smoothly:
A standard garden hose (approximately 3–5 feet)
A bucket (for monitoring sediment discharge)
A flathead screwdriver (for valve control)
Protective gloves and safety goggles
Optional: Teflon tape and wrench (in case of valve resealing)
Preparation and Safety First
Turn Off the Power or Gas:
If you have an electric water heater, cut power at the circuit breaker. For gas models, turn the thermostat to the pilot setting or switch off the gas valve entirely.Shut Off the Cold Water Supply:
Locate the cold-water valve near the top of your unit and rotate it clockwise to halt inflow.Allow the Tank to Cool:
Wait a couple of hours before proceeding. Draining hot water without sufficient cooling time could lead to scalding or cracked components.
Connecting the Drain Hose
Attach one end of the garden hose to the drain valve located near the base of the water heater. Run the other end to a safe drainage area—ideally an outdoor space or a large utility sink. Make sure the hose is securely fastened to prevent leaks.
Draining the Tank
Open a Hot Water Faucet:
Open a hot water tap in your home to relieve system pressure and allow for smooth drainage.Open the Drain Valve:
Using your screwdriver or hand, turn the drain valve counterclockwise to begin releasing water. Sediment and discolored water may initially flow out—this is normal.Observe the Discharge:
Monitor the water exiting the hose. Once the water runs clear, most of the sediment has been flushed out. This step can take 10–30 minutes depending on buildup.
Rinse Cycle
To thoroughly clean the tank, briefly reopen the cold-water supply valve while the drain valve remains open. This will rinse out any remaining debris still lodged inside. Continue until the outgoing water is entirely sediment-free.
Sealing and Refilling
Close the Drain Valve:
Once satisfied, securely close the drain valve using your hand or wrench. If leakage occurs, reseal using Teflon tape.Turn Off the Hot Water Tap:
Go back to the previously opened tap and shut it off once a steady stream of water flows, indicating the tank is full again.Restore Power or Gas:
Flip the circuit breaker back on or reignite the pilot light on your gas water heater.
Post-Flush Inspection
Once everything is restored, listen for unusual noises such as popping or hissing. These may indicate lingering sediment or internal pressure problems. If issues persist, it might be time to consider professional water heater repair to assess more serious internal damage or component wear.
When to Seek Professional Service
Though flushing can be a DIY job, complex models, persistent sediment problems, or signs of corrosion call for an experienced technician. Routine Water Heater Service from a licensed provider can extend your unit’s life, ensure optimal performance, and avoid sudden malfunctions during the colder months.
Conclusion
Regularly flushing your water heater is a proactive way to maintain energy efficiency and avoid unexpected repair costs. A clean system heats faster, performs better, and lasts longer—making this maintenance routine a smart move for every homeowner. If flushing doesn’t restore performance or if unusual sounds continue, consider seeking professional water heater repair for a thorough diagnostic.


