As the popularity of hardware wallets grows, securing cryptocurrency assets has become more important than ever. Trezor, one of the most trusted names in the crypto hardware wallet space, offers a reliable and user-friendly experience. However, to ensure seamless communication between your Trezor device and your web browser, installing Trezor Bridge is essential. This Step-by-Step Guide: Trezor Bridge Download & Setup will walk you through everything you need to know to get started safely and easily.
What is Trezor Bridge?
Trezor Bridge is a background service that allows your web browser to communicate directly with your Trezor hardware wallet. Without it, your Trezor wallet may not function properly on desktop browsers, especially when using the Trezor Suite or third-party apps like MetaMask. Trezor Bridge replaces older tools like the Chrome extension and is required for up-to-date browser compatibility.
Step-by-Step Guide: Trezor Bridge Download & Setup
Step 1: Prepare Your Computer
Before you begin, make sure your operating system is up to date. Trezor Bridge is compatible with Windows, macOS, and Linux. Also, ensure your preferred browser (Chrome, Firefox, Edge, or Brave) is updated to the latest version.
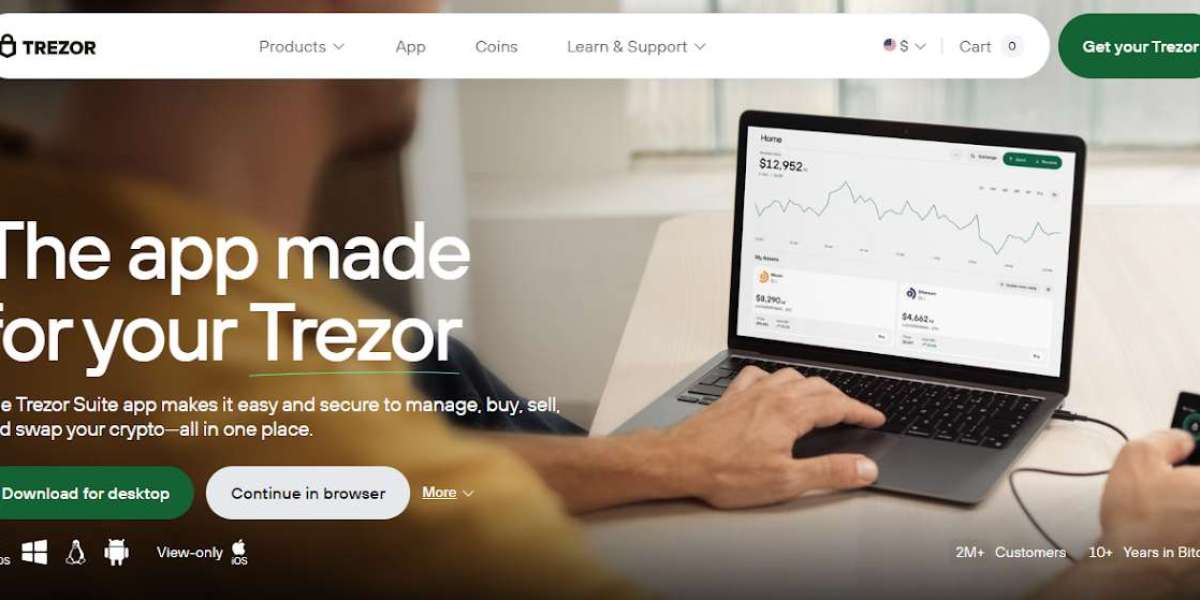
Step 2: Visit the Official Trezor Website
Navigate to the official Trezor website at https://trezor.io/start. Avoid downloading software from third-party or unofficial sources, as this could compromise your wallet’s security.
Step 3: Download Trezor Bridge
Once on the site, the Trezor Start page will automatically detect your operating system and prompt you to download the correct version of Trezor Bridge. Click the “Download for [Your OS]” button to begin the download.
Step 4: Install Trezor Bridge
After downloading the file:
- On Windows: Double-click the .exe file and follow the installation wizard.
- On macOS: Open the .dmg file, drag the Trezor Bridge icon to your Applications folder, and open it.
- On Linux: You may need to use a terminal and follow specific instructions provided on the download page.
Follow the prompts to complete installation. You may be asked to allow permissions or restart your browser after the installation.
Step 5: Connect Your Trezor Device
Once Trezor Bridge is installed, connect your Trezor device using the USB cable. Open https://suite.trezor.io to launch the Trezor Suite in your browser or desktop app. Trezor Suite will automatically detect the device if Trezor Bridge is running properly.
Step 6: Verify Connection
The Trezor Suite interface will show that your device is connected. If prompted, install any firmware updates and follow on-screen instructions to complete setup. You’re now ready to manage your assets securely.
Final Thoughts
Following this Step-by-Step Guide: Trezor Bridge Download & Setup ensures your hardware wallet operates securely and efficiently. Whether you're storing Bitcoin, Ethereum, or other cryptocurrencies, Trezor Bridge is a crucial component of your wallet’s communication with your computer. For the best experience, always keep your software up to date and download only from official sources.